Sketch 44 Resizing: How does it work???
It’s new! It’s intuitive! It’s better! It’s extra-stretchy!

The folks over at Sketch have been hard at work polishing up the latest updates and features for Sketch version 44, and they’ve made a pretty big update to the way resizing works:
NEW IN SKETCH 44
Resizing options have been updated to give you more power and control over how your layers should behave when their parent is resized.
There are lots of other tweaks coming in Sketch 44, but I’m just going to cover the new Resizing Tool for now.
I’ve put together a quick freebie that will show you how all of the old resizing features translate into the new tool.
YOU MUST DOWNLOAD THE SKETCH 44 BETA, OR THE SKETCH 44 PUBLIC RELEASE FOR THIS FILE TO WORK.
Click to Download the Sketch 44 Beta
(it’s a separate app and won’t overwrite your current one)
First, a refresher:

These should look familiar. If they don’t, Peter Nowell has an awesome cheatsheet for how these work in Sketch Versions 39–43. They were a massive game-changer in 39, and have been my favorite feature ever since.
These resizing options are ways to tell Sketch how you want layers and groups to behave within their parent. Pretty cool!
The problem with these is they’re not 100% intuitive as to how they work. I found myself guessing for a while. Peter’s cheatsheet really helped add some clarity, but it still took a lot of time to really get things under my fingers. With Sketch 44, things get a lot better!
Now, the updates!
Sketch has made resizing and pinning much more intuitive by giving you a visual for how things behave. Check out this handsome new tool:

The new resizing options give us much more flexibility with regards to how things respond when we resize objects with child layers.
The Basics
Pinning is much more intuitive now, and you don’t have to guess which edge a layer will snap to. As long as you tell it which edge you want it to stick to, it’ll stay there like when you duct taped your brother to the wall.
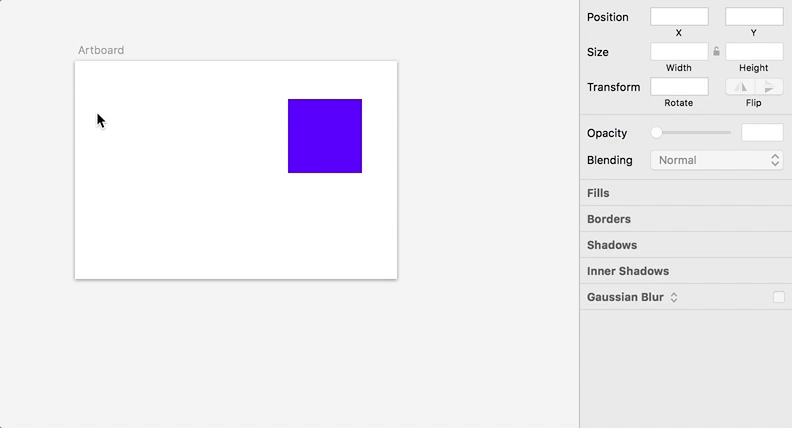
In this screenshot, I’ve pinned the white block to the top and right edges. When you pin a layer, it maintains its distance from the edge of its parent container (in this case, the purple box).
That white box is 20px from the top and right edges, so now that it’s pinned, it will always stay 20px from the top and right:

Here’s how it looks when I resize the group:

So we have that white box pinned in the upper-right and it’s maintaining 20px of margin from the edge, but it seems to be resizing with the rest of the group. Sad! 😢
If you want that white box to maintain its size, you’ll have to check the “Fix Width” and “Fix Height” boxes. Makes sense!

That looks better! And you can get creative with the way things pin and resize. Maybe you want to keep the width fixed, but you want the height to resize with the whole group? To do that, we can pin the top and bottom of the child layer (the white rectangle), and check the “Fix Width” box:

Let’s pretend we want our block to Float in Place right in the center of the box. Well we don’t want anything pinned, but we do want to keep the height and width fixed:

Resize Object is much easier to understand now since you can choose which edges to pin. Here I have some text inside my box, and I want to maintain 20px of padding on the left/right/top:

It’s important to note that if you don’t pin an edge, it will Stretch as you resize the parent container. Watch how the text moves vertically as resize the box up and down:

Symbols and Artboards
In Sketch 39–43, resizing features worked inside of groups and symbols but not artboards themselves.
Well with the new resizing tool, artboards gain this functionality as well. But you get a choice! There’s a new option called “Adjust content on resize”:

Here’s how resizing an artboard looks without this box checked:
If you check “Adjust content on resize”, then things will behave just like they would in a group or symbol, but this time on the entire artboard:

Note: This box will get automatically checked if you pin ANY base layer on your artboard. So don’t let that confuse you:

That’s it!
I’m pretty stoked about this improved resizing tool! It adds a level of intuitiveness to that was really missing before. No more guesswork!
I opened up UX Power Tools inside of Sketch 44 to see how it would perform with the new resizing options, and everything looked pretty good out of the box. Sketch did its best to translate over all of the old native resizing options into the new ones. I didn’t exhaustively test it, but the few components I tried all worked perfectly.
If you have any questions, put them in the comments! I’ll do my best to answer them, and when I can’t, I’ll let Sketch chime in 😅
